Booking a Visit
Since we're covering Sherman from Springfield, the visit gets scheduled as a trip, not a drop-in. When you call, tell us the door size, whether you've got an existing rail or need one, and if you already know the horsepower or drive type you want. That lets us load the right unit and hardware in one pass instead of a second trip for a part we didn't bring.
We'll also ask about your electrical setup - a lot of the newer construction out here has a dedicated outlet already in the ceiling, which saves time on install day. If your garage doesn't have one, we can talk through what that means for the job before we're standing in your driveway.
We don't keep a branch in Sherman, so same-day requests depend on what's already on the schedule for that side of the service area. Being upfront about the 7-mile drive matters here: it's not a same-town emergency stop, it's a planned visit, and we'd rather set that expectation on the phone than surprise you at the door.
What Can Go Wrong
On a home built closer to 2002, the failure points are different from what we see on 1970s stock. The steel rail can warp or the trolley can crack, especially on the early belt-drive units that were common in that era before better polymer trolleys became standard. Logic boards from that generation are a known weak point - they age out and start giving intermittent open/close signals long before the motor itself gives up.
We also run into openers that were installed with a rail too short or too long for a later garage door swap, which throws off travel limits and force settings. That's a mismatch problem, not a wear problem, and it shows up as a door that reverses randomly or won't fully seat.
One limitation worth saying plainly: if your opener is a proprietary model tied to a builder-installed system from that construction era, replacement parts for the original unit may not be available at all, and full replacement is usually the only real fix. We won't pretend a patch job will hold long-term when the part simply isn't made anymore.
What the Fix Involves
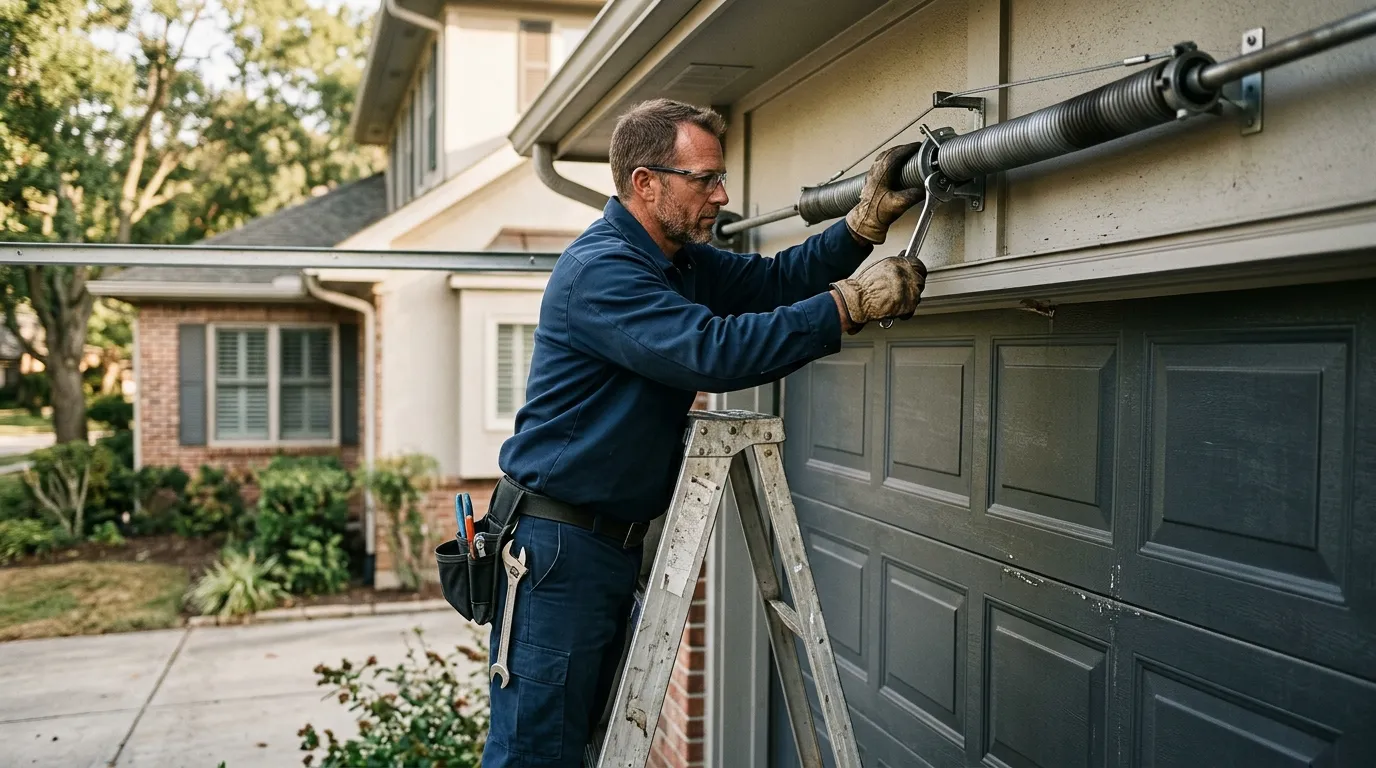
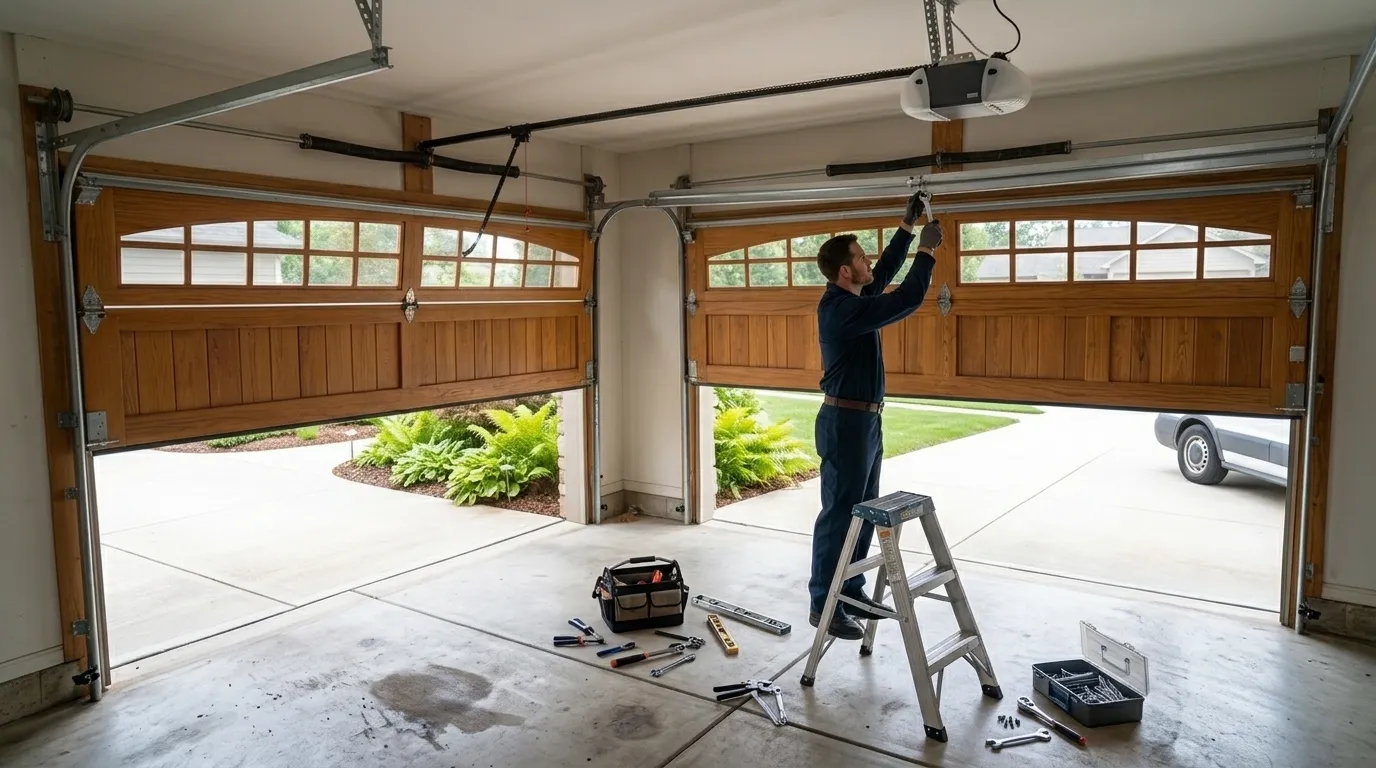
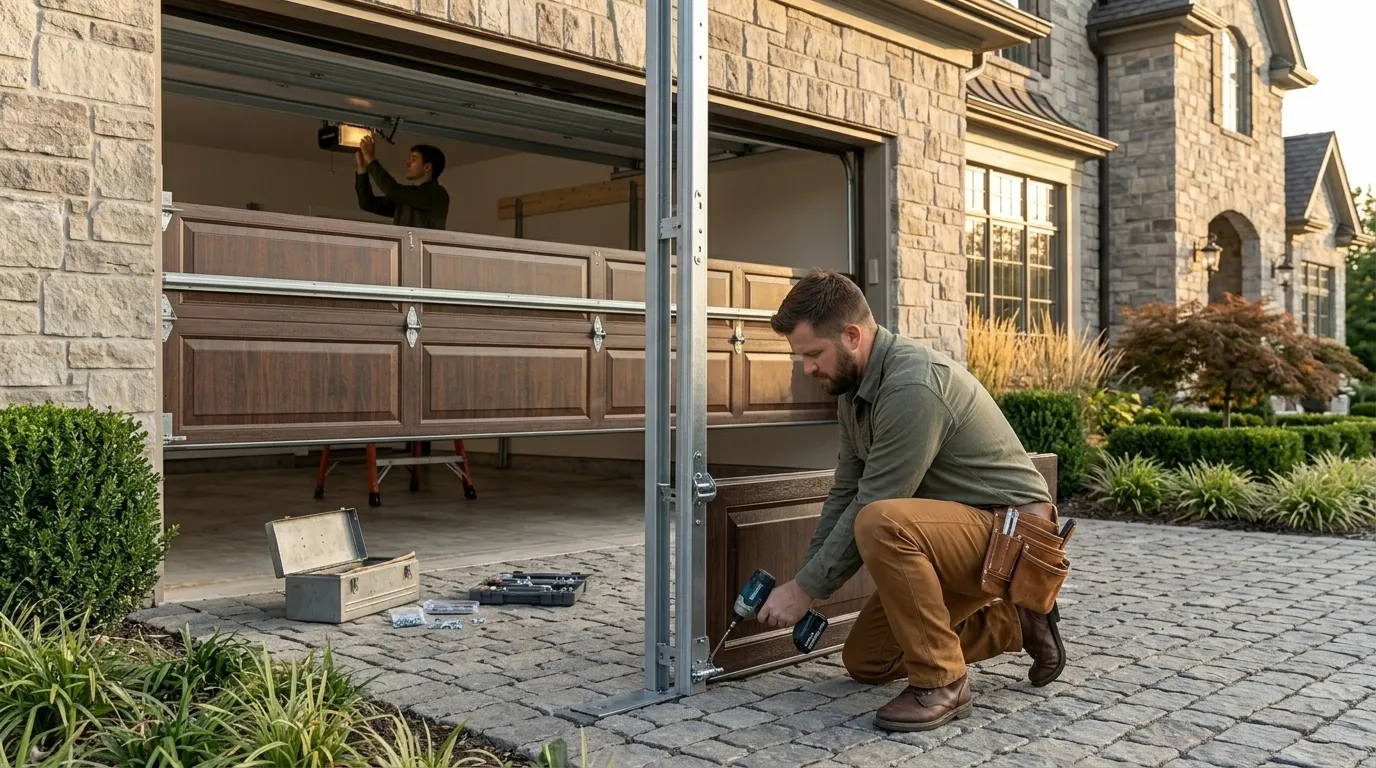
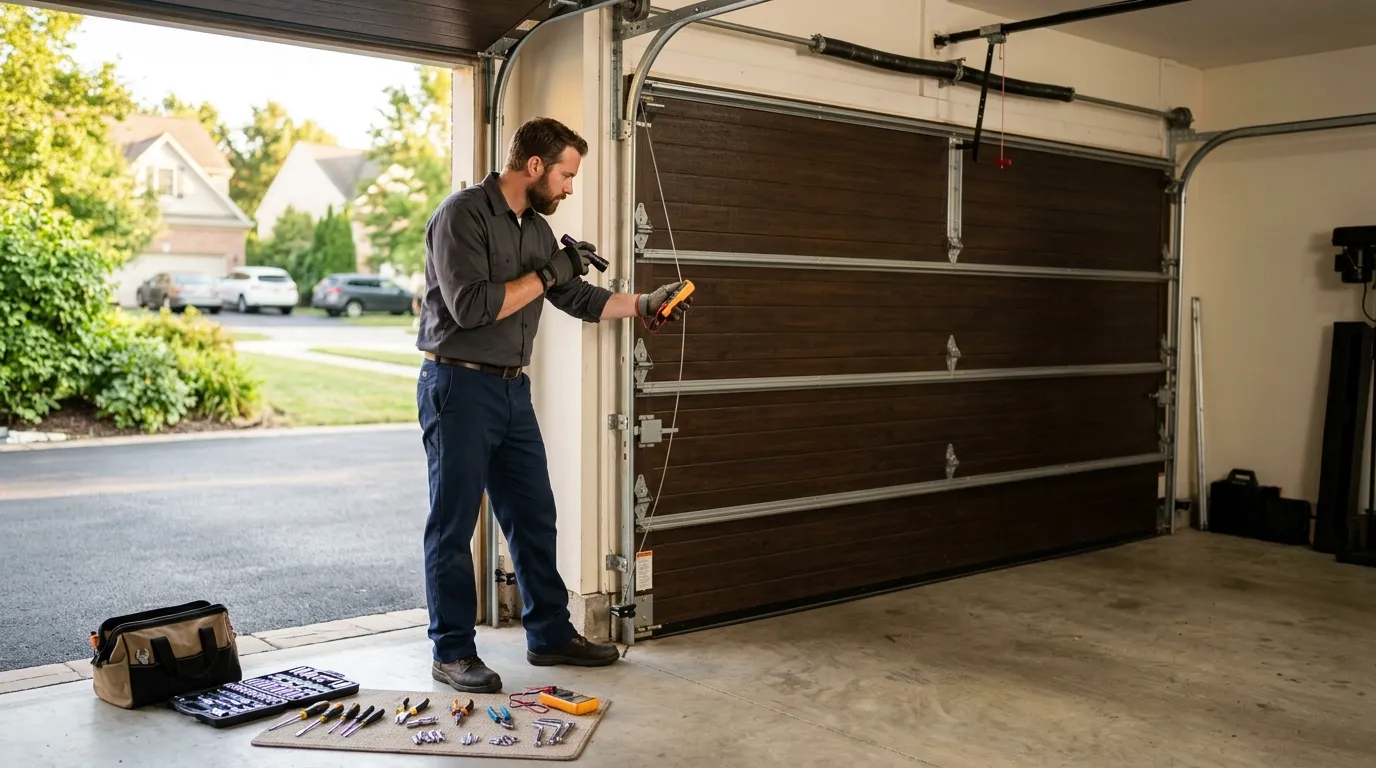
For a straight swap - old opener out, new one in on the existing rail - we're usually looking at removing the old logic head, checking the rail and trolley for wear from that early-2000s generation of hardware, and confirming the door's spring balance before we mount anything new. A door that's out of balance will burn out a brand-new opener just as fast as it did the old one, so we check that first regardless of what unit you're installing.
If the rail's warped or the trolley system is the older two-piece style that doesn't match modern openers, we replace the rail as part of the job rather than force a mismatch. We wire in a dedicated circuit if one isn't already there, set the travel limits and force settings to the actual door weight, and test the safety reversal sensors before we call it done.
Cold-climate wiring and weather sealing around the wall control matter here too, given the area sits in a moderate-cold band - we make sure the control unit and sensor wiring are routed to hold up through winter temperature swings rather than left exposed near an unheated wall.